



How to Mount a Spotting Scope
How to Mount a Spotting Scope
Many outdoor enthusiasts invest in a high-performance spotting scope, only to compromise their view with a shaky, unstable support system. Because high magnification amplifies even the slightest micro-vibrations into a blurry, eye-straining mess, a solid mount is what truly unlocks your optics' potential. Our Experts outline some important factors to consider when looking at mounting your spotting scope.
Choose the right spotting scope mount for how you use it
Selecting the correct mount is the difference between effortless viewing and immediate eye fatigue. Your choice should align with your environment, portability needs, and whether you want to document what you see.
Match the mount to the situation
While hand-holding a phone to the eyepiece can sometimes work, spotting scopes operate at high magnification. At these levels, the slightest vibration completely undermines image quality, making a stable mount essential. Choosing a setup depends on comfort, terrain, and scan duration.
-
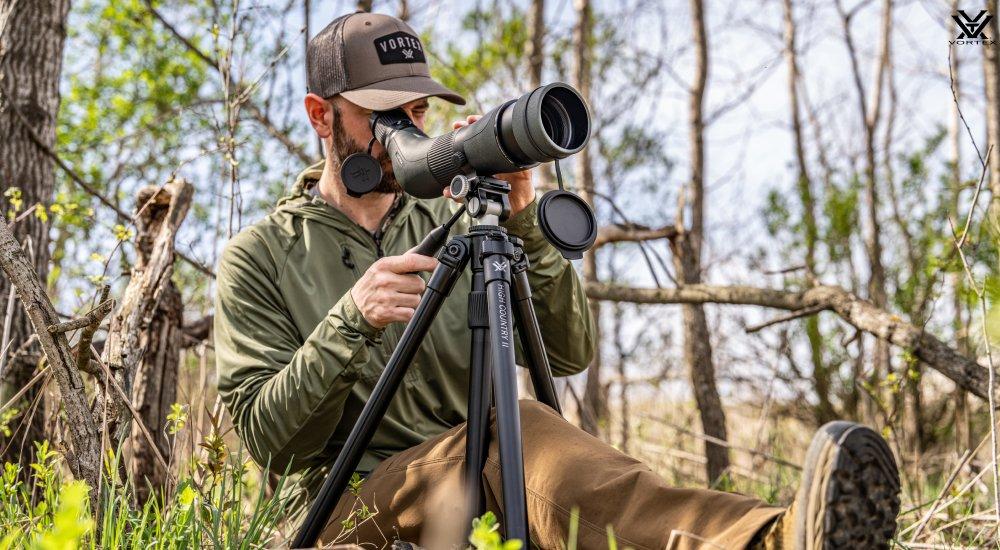
Tripod Setup: The standard for steady, long-duration viewing, especially on uneven terrain. It prevents physical fatigue and offers height adjustments for comfort.
-
Window Mount: Perfect for vehicle-based glassing, allowing you to use your car as a windbreak and stable support.
-
Phone Adapter: A critical add-on for digiscoping, precisely aligning your phone's camera with the eyepiece to capture high-magnification photos and videos.
Mount Type | Stability | Speed | Comfort | Photo/Video Use | Best For |
|---|---|---|---|---|---|
| Tripod Setup | High | Moderate | High | Excellent | Steady long-duration viewing |
| Window Mount | Mod-High | Fast | High (seated) | Good | Vehicle-based scouting/hide use |
| Phone Adapter | Dependent | Fast | High | Outstanding | Digiscoping & sharing distant events |
What to look for when you buy
-
Scope Size & Eyepiece Shape: Eyepieces vary widely. Ensure your adapter fits your scope's eyepiece diameter and look for compression sleeves or adjustable tabs to secure a precise, centered fit.
-
Tripod Head Style: For spotting scopes, you should choose a smooth 2-way pan head designed for horizontal and vertical panning. These heads allow fast, intuitive, one-handed tracking via the handle.
-
Mounting Connections: Spotting scopes standardly connect via 1/4-20 threading. For a rigid connection, select a compatible foot that fits directly into the head's clamp. Otherwise, use a quick-release plate with a non-twist spring pin to prevent rotation.
-
Phone Case & Adapter Fit: Universal clamps work with or without cases. Magnetic adapters can use cases or adhesive steel plates.
How to Attach a Spotting Scope
To attach a spotting scope to a tripod, secure the scope's mounting foot directly into the tripod head clamp or thread a quick-release (QR) plate into the scope's base connector.
-
Inspect: Locate the 1/4-20 mounting threads on the scope's base.
-
Attach: Screw the QR plate on straight. Use a plate with a non-twist spring pin to prevent rotation.
-
Lock: Secure the plate into the tripod head clamp.
-
Balance: Center the scope's weight to ensure stable panning.
-
Test: Zoom all the way in on your spotting scope and follow a distant object. If the image slowly shifts or won't stay on target, the tripod may not be stable enough for your setup.
How to attach a cell phone to a spotting scope
To attach a cell phone, secure the adapter to the eyepiece, align the phone camera over the lens, tighten evenly, test the image, and fine-tune until the full field of view appears. The best mount balances speed, alignment repeatability, case compatibility, and video steadiness. Universal clamps adjust broadly; model-specific cases align instantly; magnetic options offer rapid attachment.
Compatibility With Digiscoping
Whether pairing your cell phone with a spotting scope or seeking a magnetic adapter, compatibility relies entirely on structural fit. Key factors include your scope’s eyepiece diameter, the camera's lens alignment, case thickness, and whether you choose a magnetic ring or a locking clamp system.
Looking for more information? Check out our related article on How to Choose a Spotting Scope.
Common setup mistakes that affect stability and image quality
At high magnification, even barely noticeable vibrations can completely undermine image quality. Common culprits include loose adjustment knobs, weak quick-release clamp tension, an unbalanced head, or an off-center phone adapter that casts dark shadows.
Common Setup Mistakes
These issues directly impact optical reach. Remember that maximum distance depends as much on mount stability, ambient light, and atmospheric air conditions as it does on magnification.
-
Wobble: Lower tripod height and avoid extending the center column.
-
Image Shadow / Darkness: Re-center your phone adapter precisely over the eyepiece lens to align the phone's camera.
-
Poor Balance / Drifting: Check that your quick-release plate is secured with a non-twist pin to prevent rotation. Re-center the scope's weight over the tripod head.
-
Vibration: Reduce physical movement and use your camera’s timer before recording still images.
Investing in premium optics is only half the battle; pairing your spotting scope with a stable, well-aligned mount is what truly brings the distant world into razor-sharp focus.
Whether you are tracking wildlife on a rugged tripod, glassing from a vehicle window, or capturing media with a phone adapter, the right support system turns an intimidating setup into an effortless gateway to nature. By avoiding common stability mistakes and matching your gear to your situation, you ensure every view is rock-solid and perfectly clear. For more information on spotting scopes and mounting options, visit your local SCHEELS to talk with an Optics Expert.